

How to check coolant levels and add antifreeze

Maintaining the proper levels of coolant in your vehicle is crucial for its overall performance and longevity. Coolant, also known as antifreeze, plays a vital role in regulating engine temperatures, preventing overheating, and protecting the engine from corrosion. Regularly checking coolant levels ensures that your vehicle operates efficiently, especially during extreme weather conditions.
In this article, we will guide you through the steps to check your vehicle’s coolant levels and add antifreeze as needed. Understanding this process is essential for any car owner, as it not only enhances vehicle performance but also helps in avoiding costly repairs that can arise from neglecting the cooling system.
Follow these straightforward instructions to ensure that your coolant system remains in top shape. Proper maintenance of coolant levels will enhance your vehicle’s performance and extend its life, making it a smart investment for any responsible driver.
Identifying the Coolant Reservoir and its Markings
The coolant reservoir, often made of translucent plastic, is typically located near the engine bay and varies in position depending on the vehicle model. It is essential for maintaining optimal engine temperature by holding a reserve of coolant, which includes antifreeze, to circulate through the cooling system. Familiarizing yourself with the coolant reservoir is crucial for regular maintenance.
To locate the coolant reservoir, open the hood and look for a container labeled ‘Coolant’ or ‘Antifreeze’. It usually has a cap that may be color-coded, such as yellow or green. The reservoir will often feature markings on its side indicating ‘Full’ and ‘Low’ levels. These markings guide you in assessing whether the coolant level is adequate or if you need to add more antifreeze.
When examining the reservoir, ensure that the engine is cool to prevent burns from hot coolant or steam. The coolant level should ideally be between the ‘Full’ and ‘Low’ markings. If it consistently falls below the ‘Low’ line, it may indicate a leak or other issues within the cooling system that require immediate attention.
Always refer to your vehicle’s manual for specific information about the coolant reservoir and recommendations for the type of antifreeze to use. Proper identification and understanding of these markings help in maintaining the coolant levels, ensuring your engine operates efficiently and reliably.
Steps to Safely Check Coolant Levels
Begin by ensuring the engine is completely cool. This prevents any risk of burns from hot coolant or steam. Once the engine has cooled, locate the coolant reservoir; it’s usually a translucent plastic tank connected to the radiator.
Examine the coolant level by looking at the markings on the side of the reservoir. The level should fall between the “Low” and “Full” indicators. If the coolant level is below the “Low” mark, it’s essential to add coolant.
Before adding coolant, take a moment to review the vehicle’s manual for specific recommendations regarding the type of coolant to use. Utilizing the correct coolant is crucial for optimal engine performance.
When ready to add coolant, carefully remove the cap of the reservoir. To prevent spills or splashes, use a funnel while pouring the coolant in. Ensure that you only fill the reservoir to the “Full” mark; overfilling can lead to leaks or pressure issues.
After adding coolant, securely replace the cap on the reservoir. Keep the engine running and check for any signs of leaks around the reservoir and hoses. It’s always a good practice to monitor the coolant level periodically to ensure it remains within the recommended range.
How to Properly Add Antifreeze to Your Vehicle

Adding antifreeze to your vehicle is essential for maintaining optimal engine performance and preventing overheating. Start by ensuring your vehicle is parked on a level surface and the engine is cool to avoid injury. Open the hood and locate the coolant reservoir, which is usually a transparent tank near the radiator. Check the current coolant level marked on the side of the reservoir; the level should be between the “min” and “max” indicators.
If the coolant level is below the minimum mark, it’s necessary to add antifreeze. First, choose the appropriate type of antifreeze based on your vehicle’s specifications; this information can usually be found in the owner’s manual. Never mix different types of antifreeze, as this can lead to chemical reactions that may harm the cooling system.
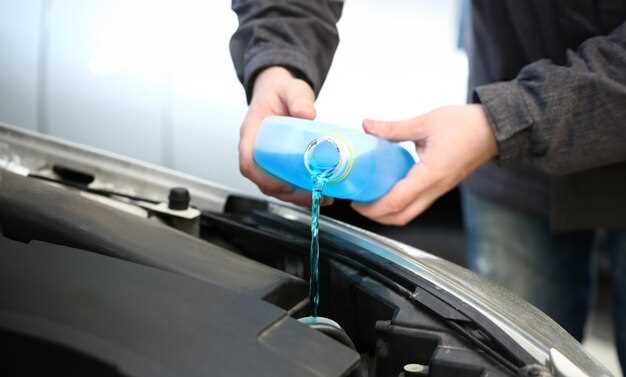
Before adding the antifreeze, remove the cap of the coolant reservoir slowly to release any built-up pressure. Use a funnel to pour the antifreeze into the reservoir, filling it until it reaches the maximum level indicator. Avoid overfilling, as this can cause the coolant to overflow when the engine heats up and expands the fluid.
After adding antifreeze, securely replace the cap on the coolant reservoir. It’s advisable to run the engine for a few minutes with the heater on to circulate the new antifreeze throughout the cooling system. Keep an eye on the temperature gauge to ensure the engine does not overheat. Finally, check for any leaks around the reservoir or hoses, as this could indicate a problem that needs addressing.